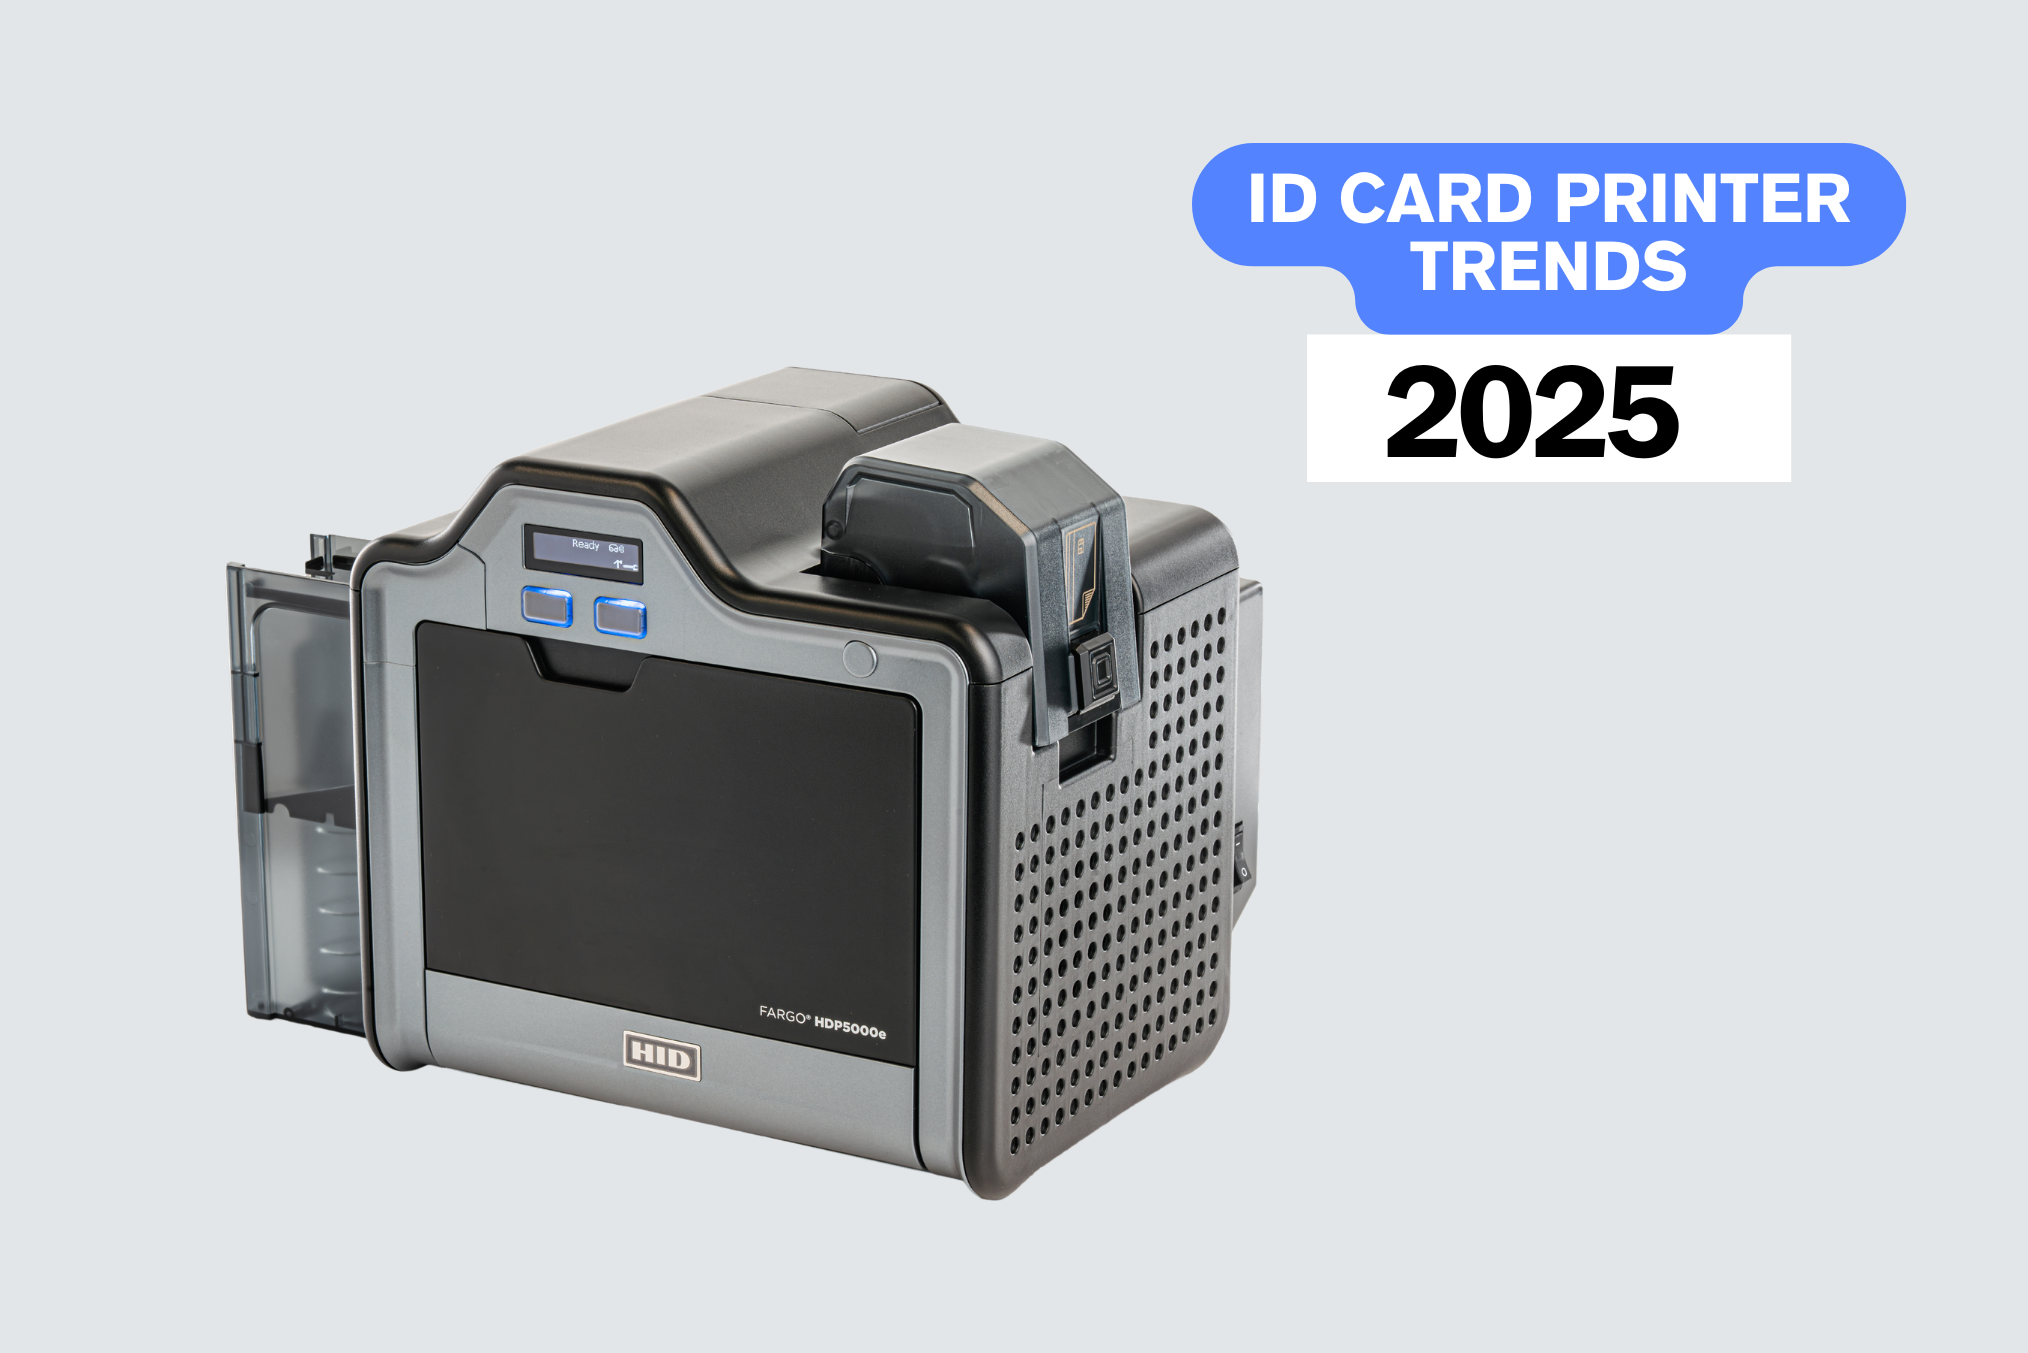
Want to Know How to Remove a Card that’s Stuck in an ID Card Printer?
There’s nothing more inconvenient than your print job being put on hold because a plastic card has gotten stuck mid-printing. In our latest post, our support team share their expert advice on how to fix card jams in our most popular ID card printer models, which you can learn more about in our best ID card printers review.
We know how important it can be that your team is aware of how to fix card jams effectively and remove any torn ID card printer ribbons with minimal hassle. Please ensure those operating the ID card printer follow these simple steps to remove a card jammed inside.
Technical and human errors, unfortunately, can occur and as such, it is advisable to be aware of these simple troubleshooting methods and how plastic card printers work.
Each of our plastic ID card printers is slightly different, and the below guidance pertains specifically to only those brands mentioned within this post.
IDP Smart 21/31/ EasyBadge 2.0 card printers
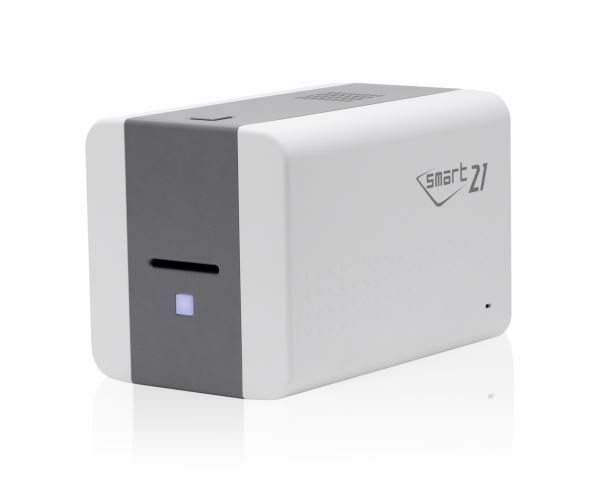
Press the top button to open the lid and then remove the ribbon cradle, placing it in a clear space on its side to avoid dust getting on the printer ribbon.
Gently remove any trapped ribbon from the inside of the printer – do NOT use any sharp implements to do this. Once the cradle and any torn ribbon is removed from the inside of the machine, press the front button to move the rollers backwards, pushing the ID card to the front of the printer.
If there was any ribbon trapped in the printer which you could not safely remove from the printer, press the same front button to try and pull the ribbon free at the same time. Once the card is free and any loose ribbon has been removed, repair or replace the ribbon on the cartridge spool, and re-insert into the printer.
IDP Smart 51 card printer
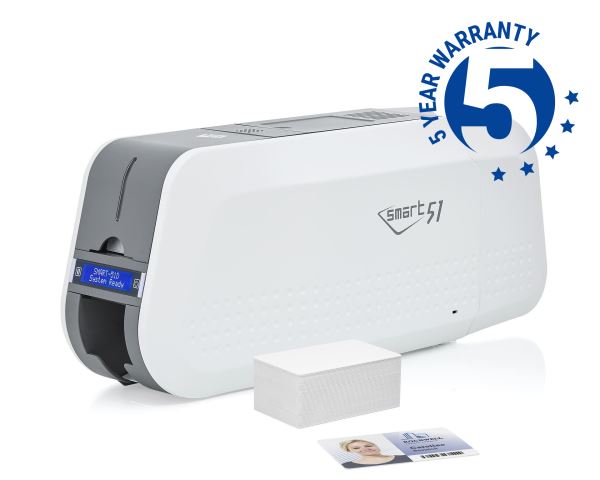
Press the button on the top of the IDP Smart 51 printer to open the lid. Remove the printer ribbon cartridge, placing it on the desk on its side to avoid dust getting on the ribbon.
Remove any ribbon trapped inside the printer – do NOT use any sharp implements to remove the ribbon.
Press the front 2 buttons at the same time to move the rollers backwards or forwards, pushing the card to the inside of the printer. If any additional ribbon or torn ends are trapped in the rollers, press the same front buttons to move the rollers and try to free the ribbon at the same time.
When the card is free and any loose ribbon removed, repair or replace the ribbon on the spool and re-insert the printer ribbon cartridge into the printer.
Magicard 300/600 card printers
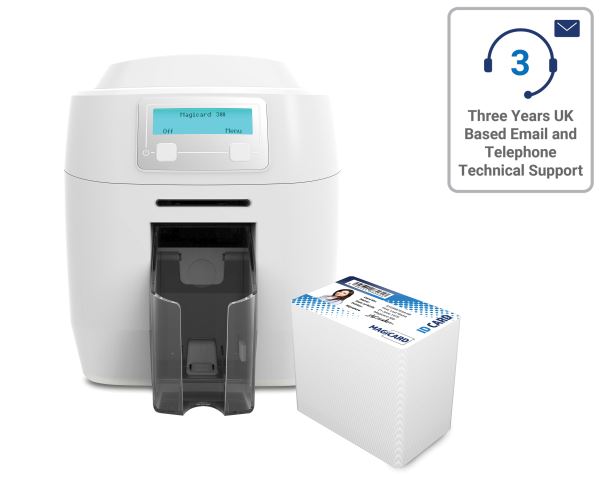
Machine ejection following error light:
This type of direct-to-card printer is designed to be incredibly user-friendly and should communicate problems with the user immediately.
A stuck card is communicated by the appearance of an error light, and if applicable, written communication on an LCD screen.
Upon seeing this light, simply press the corresponding button located on the front panel of the printer and the card printer will attempt to eject the card itself, making this a very quick fix.
Manual ejection using the printer rollers:
If the above does not work and the card remains stuck, then you can attempt to remove the card manually.
Press the top button to open the lid, remove the ribbon and place it on the desk on its side to avoid dust getting onto the ribbon.
Gently remove any trapped ribbon from the inside of the ID card printer – do NOT use any sharp implements to do this.
Press the “Menu” buttons on the front panel to access the “Turn Rollers” option, which you can use to move the internal rollers backwards or forwards, moving the card stuck inside the printer.
This will move all of the other rollers and your card should be pushed out, causing it to become unstuck. If any additional ribbon is trapped in the rollers, press the “Turn Rollers” button to try and pull the ribbon out at the same time.
Once the card and any loose ribbon is free, replace or repair the ribbon on the take-up spool and re-insert into the printer.
Supplier ejection on the return of your card printer:
Whilst the above fixes should be sufficient to alleviate most common ID card jams, unfortunately, you may need further assistance.
If the above does not work, we suspect that one of the transport belts has most likely come loose, and this is something that will need to be resolved by returning the printer to us.
So, if the problem persists after carrying out the above instructions, then we recommend you contact our support team immediately on 0161 475 5346 for further assistance.
Magicard Pronto card printer
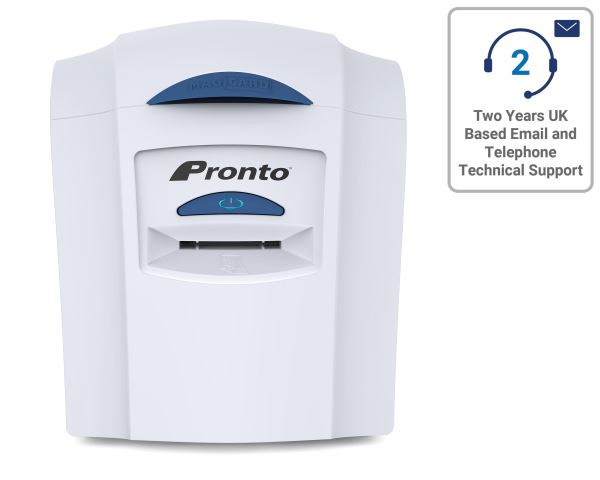
Open the Magicard Pronto printer lid, remove the ribbon and place it in a clear space on its side to avoid getting dust on the ribbon surface. Gently remove any trapped ribbon from the inside of the direct-to-card printer – do NOT use any sharp implements to do this.
Press the front button to move the rollers backwards, pushing the card to the front of the printer. If any additional ribbon is trapped in the rollers, press the same button and try pulling the ribbon free at the same time.
When the card is free and any loose ribbon has been removed, repair or replace the ribbon on the spool and re-insert into the printer.
Fargo HDP5000 card printer
.jpg?v=636858281279600000)
Important: Always attend to a card jam on the Fargo HDP5000 as soon as possible, do not leave the printer and return to it to fix it. This could result in a card melting inside and you not being able to remove it.
Open the front printer cover that displays the buttons located on the front of the retransfer card printer.
These buttons will move the rollers backwards or forward, a movement that will, in most cases, cause the card to become dislodged. The left bottom moves the card left to the card exit.
Remove the printer ribbon and transfer cartridge, checking the ribbon and film are not broken. If required, fix the ribbon using sellotape.
Re-install both cartridges back into the printer, and press cancel on any errors on the screen to reset the printer.
Again, if this doesn’t rectify the problem and the card remains jammed, contact our support team for further advice on what to do next.
Fargo DTC 1250/4250/4500 card printers
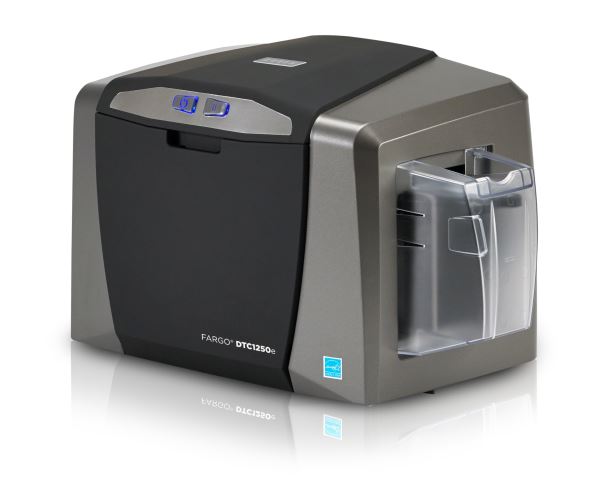
Open the front panel, using the front panel buttons to move the card inside the printer, the left bottom button should move the card to the card exit. Remove the ribbon cartridge and check the ribbon and film are not damaged. If damaged or there are any torn ends, fix using sellotape.
Re-install the cartridge into the printer, and cancel any on-screen error messages to reset the printer and continue printing.
If you’re still experiencing issues or your printer isn’t listed
We stock a wide range of plastic ID card printers, so if for any reason the above tips do not resolve your issue, or your ID card printer is not listed above, our support team of ID card experts are on hand to provide further assistance on 0161 475 5346.
To find out about the proper way to use card printer cleaning kits, printer software and more helpful printer maintenance tips, check out our blog post.


